Method 1 - Windows Troubleshooting
Step 1 :
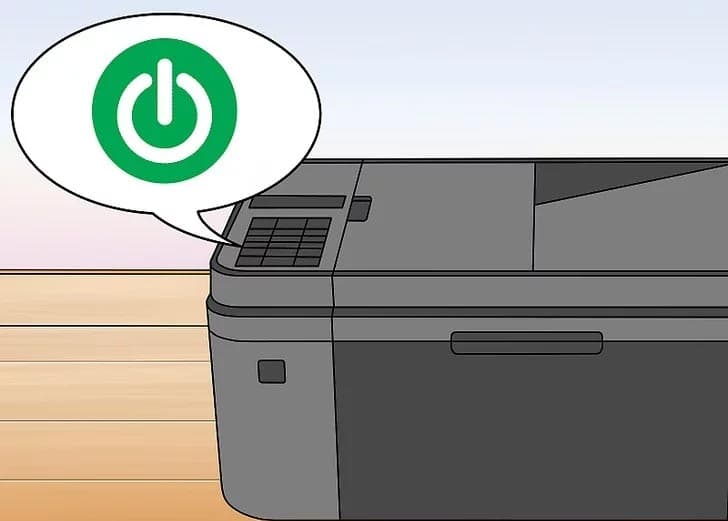
- Ensure that your printer is switched on. Make that your printer is turned on and linked to a power source before moving on to the next step in the troubleshooting procedure.
- You may need to click a button on the printer to wake it up if it is in Sleep mode.
Step 2 :
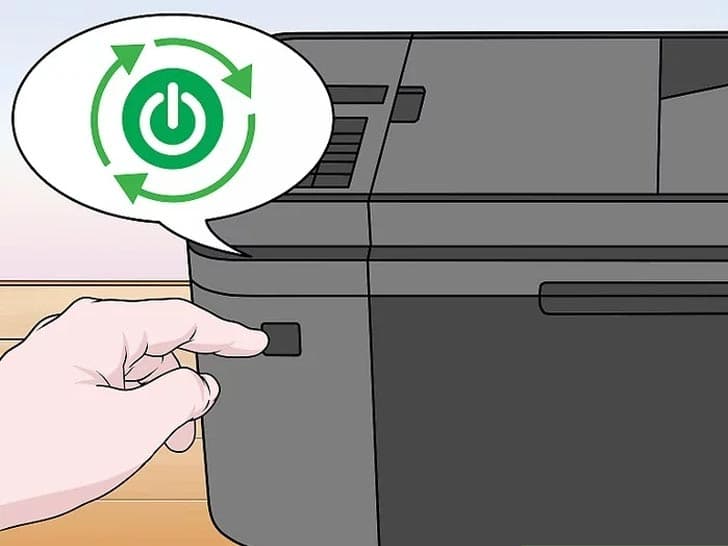
- Restart your printer if it hasn’t done so already. If the printer was already turned on, it may only need to be restarted to stop showing up as unavailable. To restart the printer, follow these steps:
- For 30 seconds, turn off and unplug your printer. This will allow your printer to restart and reconnect with your computer.
- Turn on your printer after plugging it in. Check to see if the printer is still showing as “offline” after a few moments.
Step 3 :
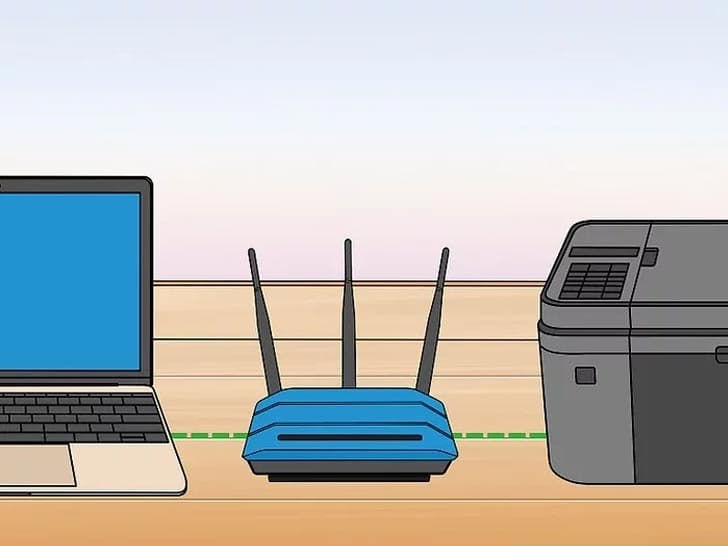
- Confirm that your printer is on the same network as your computer. If your printer is linked to your computer through Wi-Fi or ethernet, it may appear to be offline due to a network issue.
- The steps for checking your printer’s network settings differ depending on the printer you have. To explore the printer’s internal menus, you’ll normally have to utilise the buttons on the printer itself.
- If you’re connecting to the printer through a USB cable, ensure it’s securely plugged in. To rule out a broken cable connection, you could try an alternative USB cable.
Step 4 :
- Check to see if the printer tray is full of paper.
- If there is no paper available to print on, certain printers will go offline.
Step 5 :
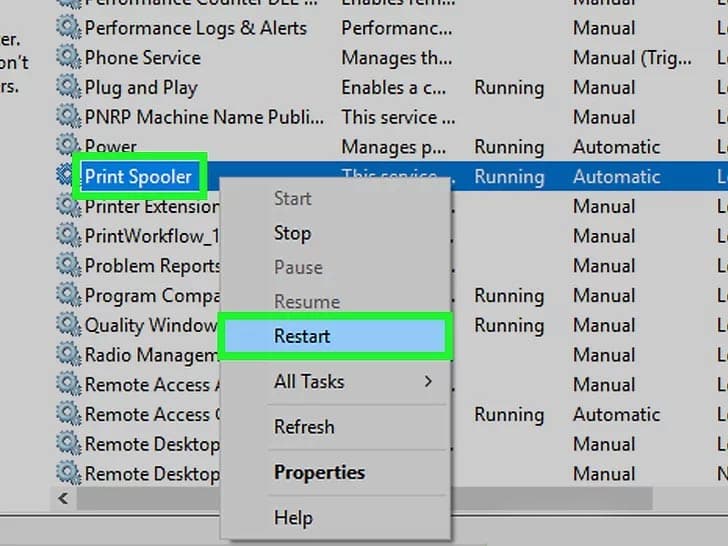
- The print spooler should be restarted. To restart the service that manages your print jobs, follow these steps:
- To open the search bar, press Win+S and type services.
- In the search results, select Services.
- Scroll down to the Print Spooler service and right-click it.
- Press the Restart button. The printer dialogue will be restarted, giving the computer a chance to rediscover the printer.
- Check to see whether your printer is showing up online after a few minutes. Because the printer spooler service takes a few minutes to restart, you’ll have to wait a few minutes until the printer appears as identified by Windows.
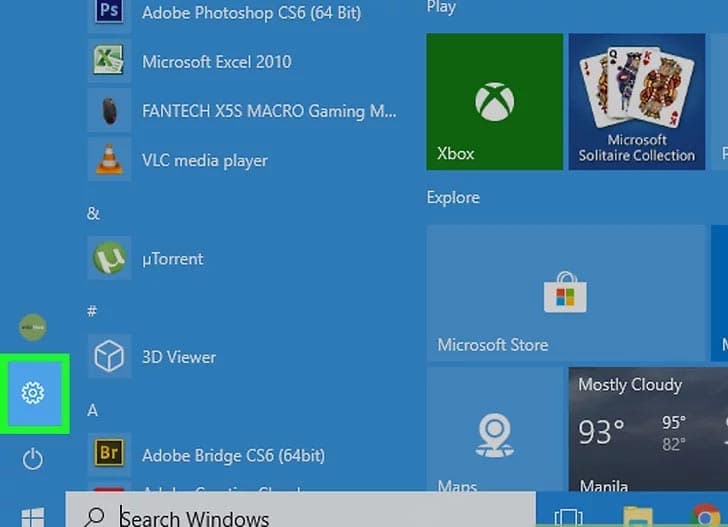
Step 6 :
- From the Windows Start menu, choose Settings.
- There are some further troubleshooting methods you can try if the printer still appears to be down.
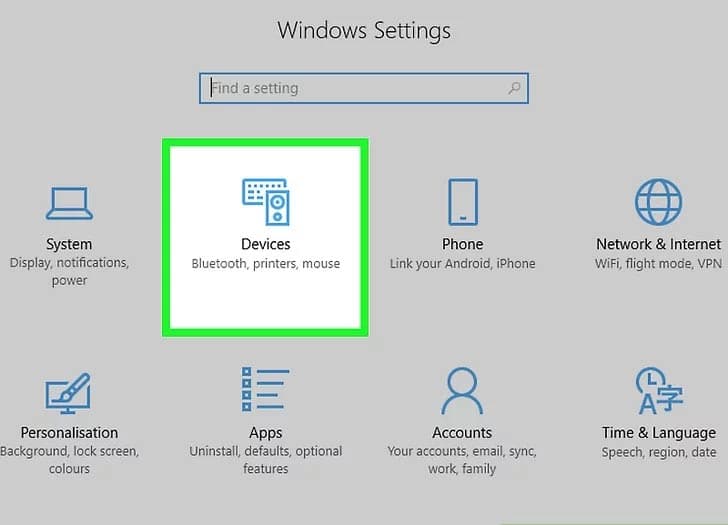
Step 7 :
- Choose your devices. It can be found in the Settings menu.
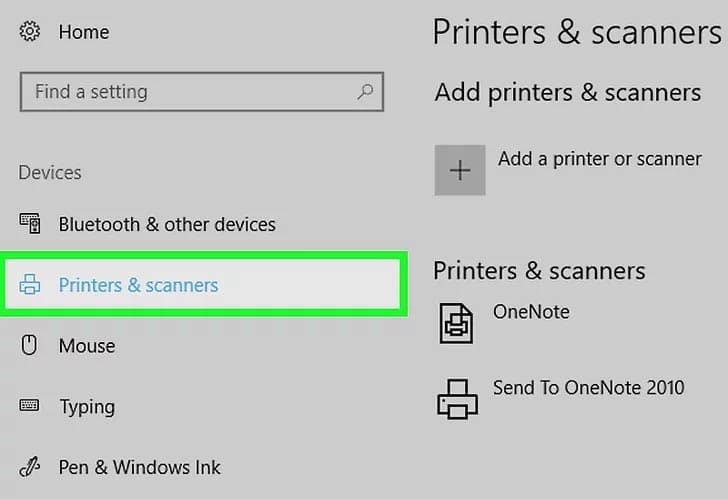
Step 8 :
- Select Printers & Scanners from the drop-down menu.
- Your printer, as well as any other devices connected to your computer, should now be listed.
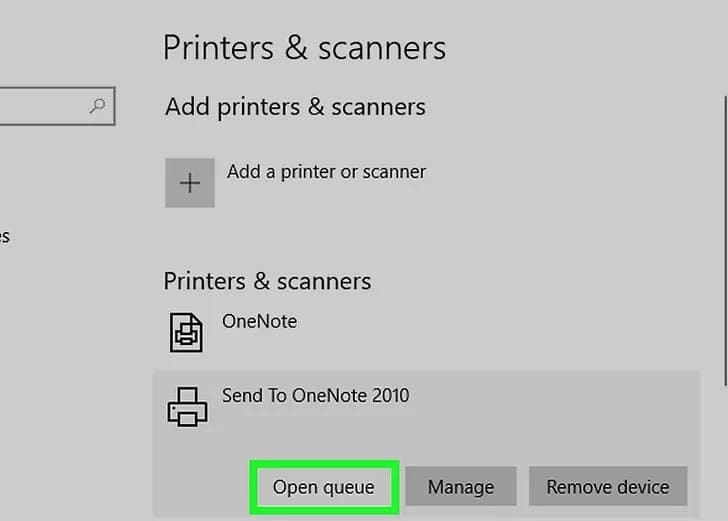
Step 9 :
- Make sure the print queue is empty. To remove all documents from the queue, follow these steps:
- Select your printer and then Open Queue from the drop-down menu.
- Choose a document from the queue.
- Under “Document,” select Cancel.
- Rep until the line is completely empty.
- Examine the printer to see if it is operational. Continue with this procedure if you’re still having problems.
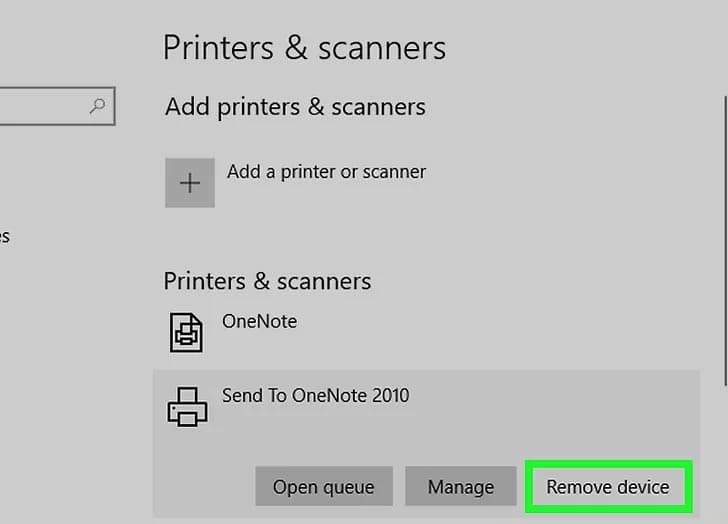
Step 10 :
- Select Remove device from the printer’s name.
- This step will remove the printer’s drivers so you may re-add them if clearing the queue didn’t work.
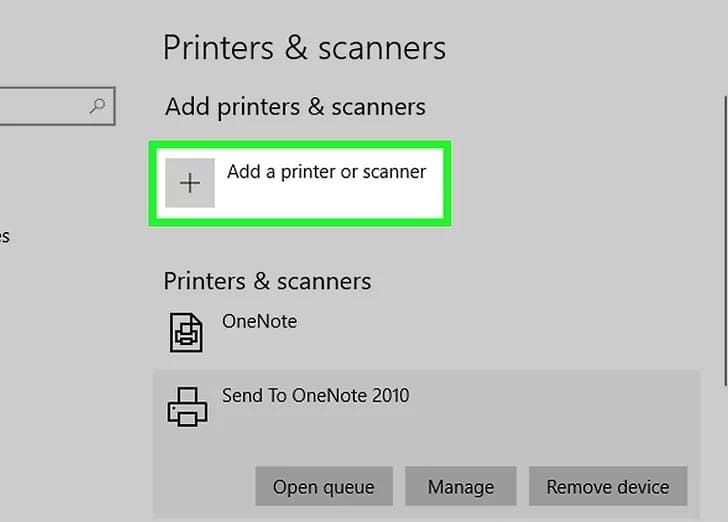
Step 11 :
- Select Add a device or printer from the drop-down menu.
- This option can be found at the top of the “Printers & Scanners” menu.
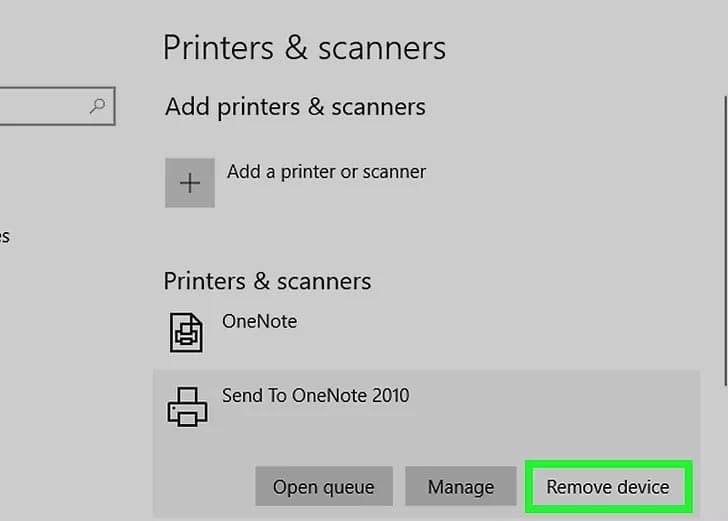
Step 12 :
- To re-add your printer, follow the on-screen directions.
- Check to see if the printer is showing up as “online” after it has been re-added.
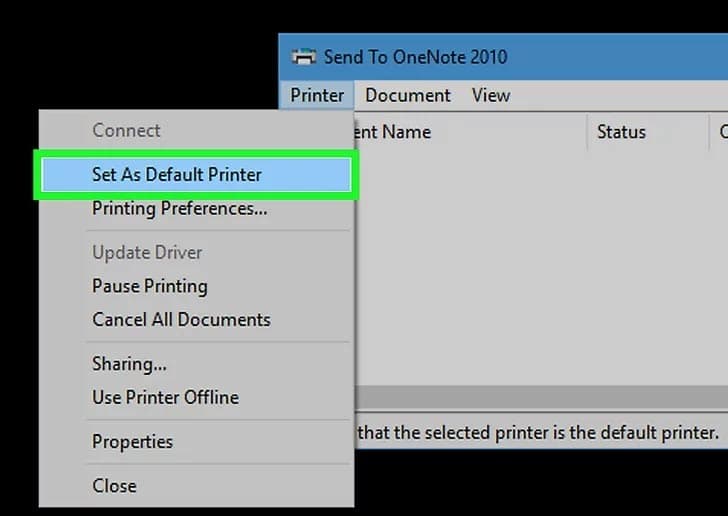
Step 13 :
- Make sure your printer is set in the default. If the printer is still not working, set it as the default printer so that Windows recognises it as the one you wish to use. Here’s how to do it:
- Navigate to the Printers & Scanners section of the menu.
- Select the printer that you want to be the default.
- Choose the option to open the queue.
- In the menu for your printer’s queue, choose Set As Default Printer. This is found in the Printer menu, which is seen on the printer queue window.
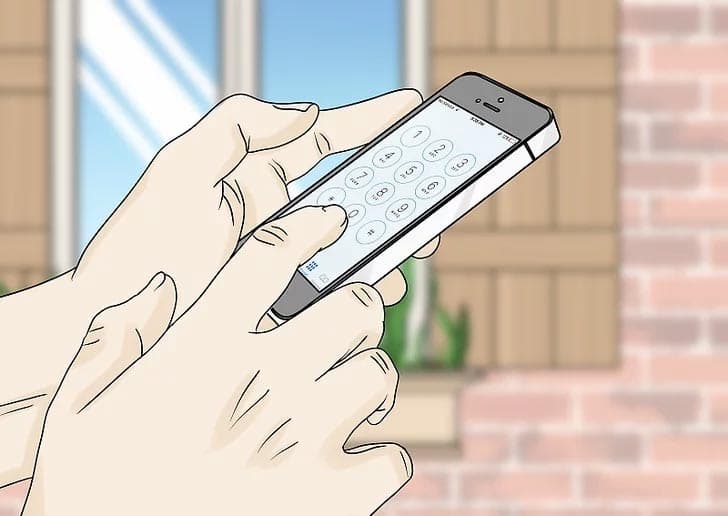
For more information, contact the manufacturer of your printer. If you’re still having problems with your printer, it’s most likely a hardware problem. For more information about connecting your printer to your PC, contact the printer’s manufacturer.
Method 2 - Troubleshooting on Macos
Step 1 :
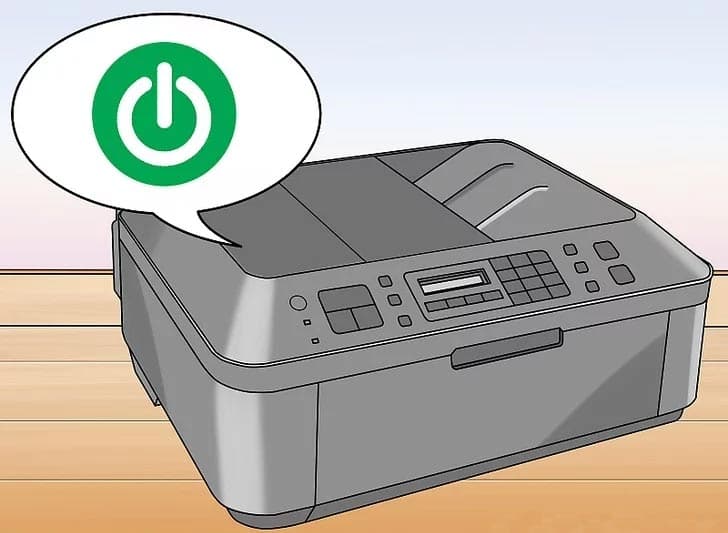
- Ensure that your printer is switched on. Make that your printer is turned on and linked to a power source before moving on to the next step in the troubleshooting procedure.
Step 2 :
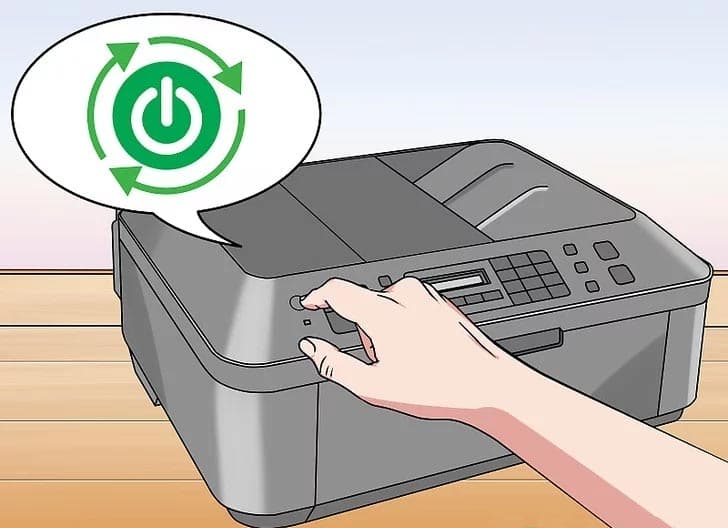
- Restart your printer if it hasn’t done so already. If the printer was already turned on, it may only need to be restarted to stop showing up as unavailable. To restart the printer, follow these steps:
- For 30 seconds, turn off and unplug your printer. This will allow your printer to restart and reconnect with your computer.
- Turn on your printer after plugging it in. Check to see if the printer is still showing as “offline” after a few moments.
Step 3 :
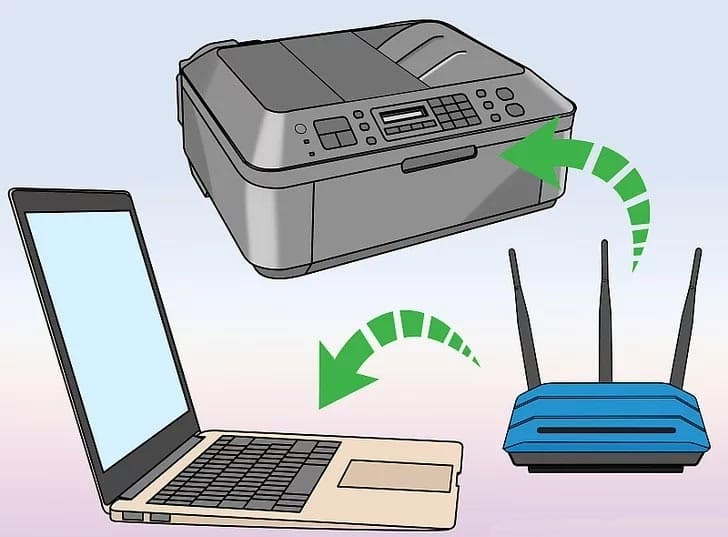
- Confirm that your printer is on the same network as your computer. If your printer is linked to your computer through Wi-Fi or ethernet, it may appear to be offline due to a network issue.
- The steps for checking your printer’s network settings differ depending on the printer you have. To explore the printer’s internal menus, you’ll normally have to utilise the buttons on the printer itself.
- If you’re connecting to the printer through a USB cable, ensure it’s securely plugged in. To rule out a broken cable connection, you could try an alternative USB cable.
Step 4 :
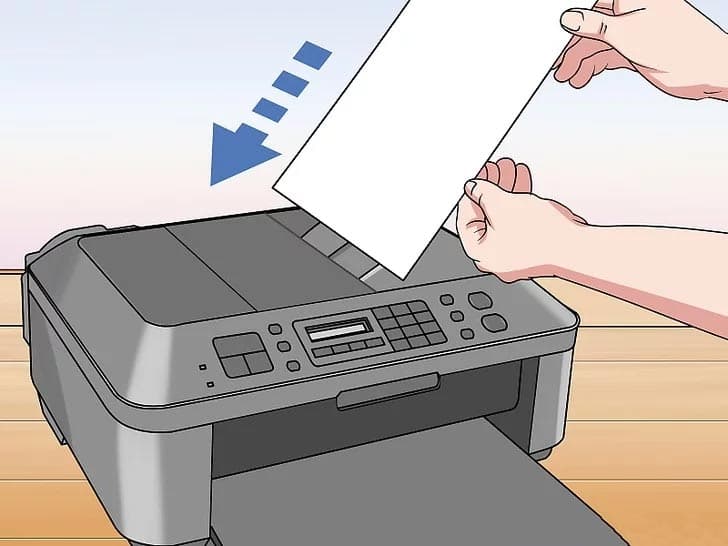
- Check to see if the printer tray is full of paper.
- If there is no paper available to print on, certain printers will go offline.
Step 5 :
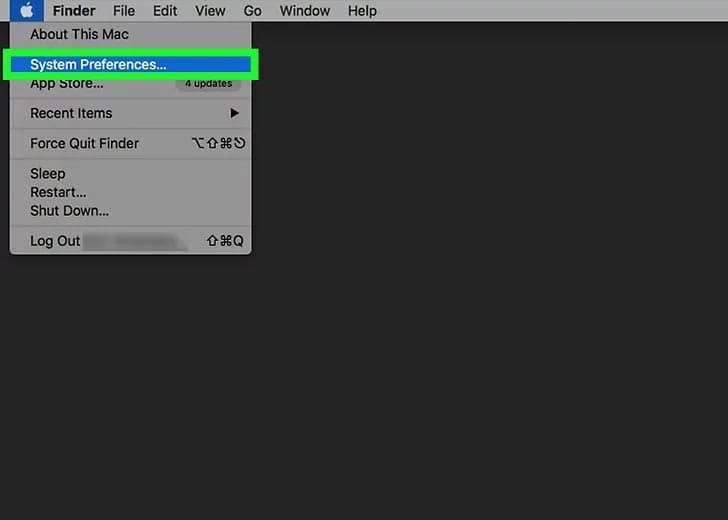
- Select the Apple menu from the drop-down menu
- It’s located in the upper-left corner of the screen.

Step 6 :
- On the menu, select System Preferences.
Step 7 :
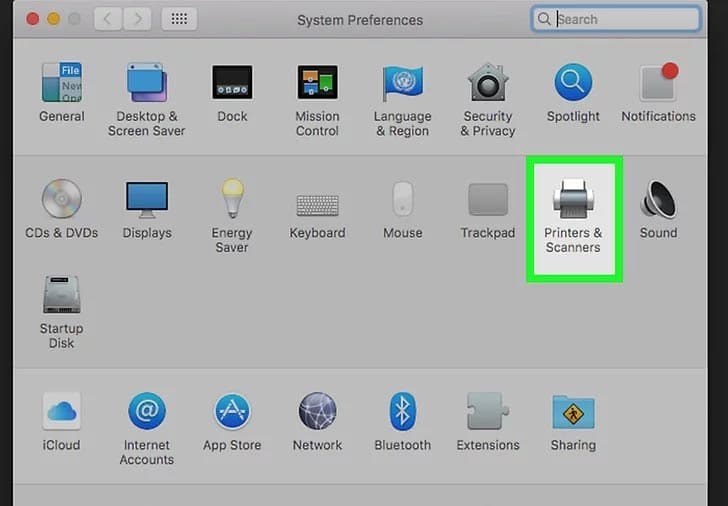
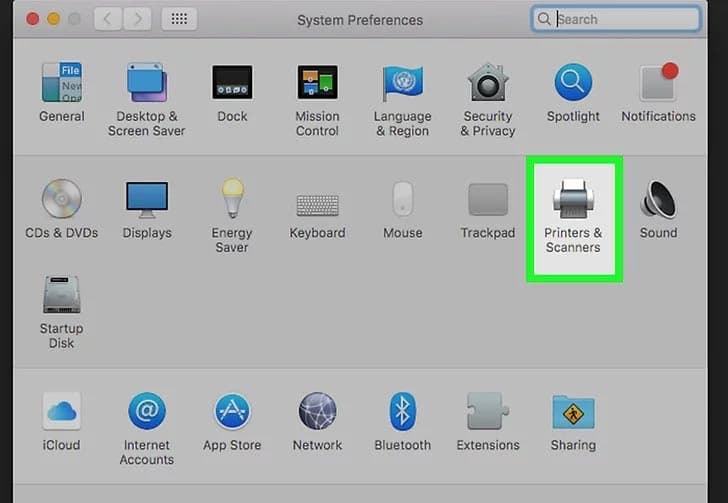
- Select Printers & Scanners or Print & Scan from the drop-down menu. This opens a new window with a menu listing all printers connected to your Mac. In this option, choose the printer you want to connect.
Step 8 :
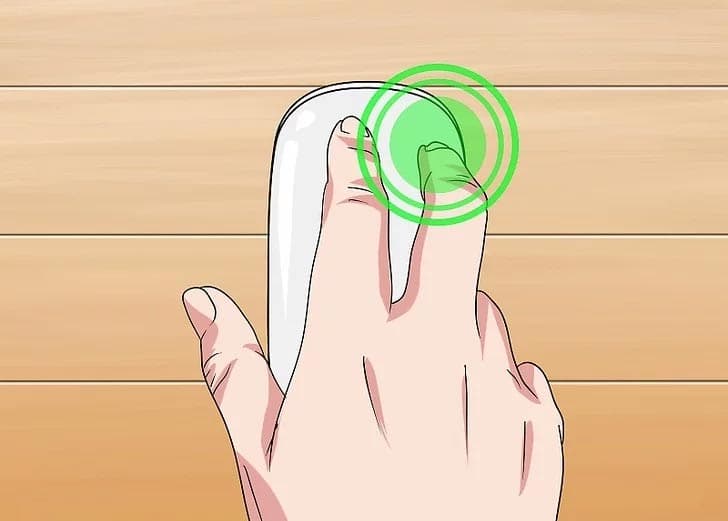
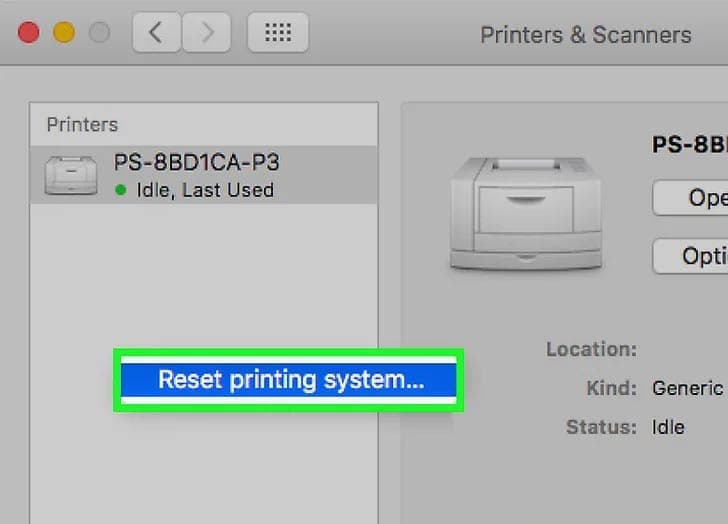
- In the Printers pane, right-click anywhere.
- This brings up a little pop-up menu with more settings for the printer in the window.
Step 9 :
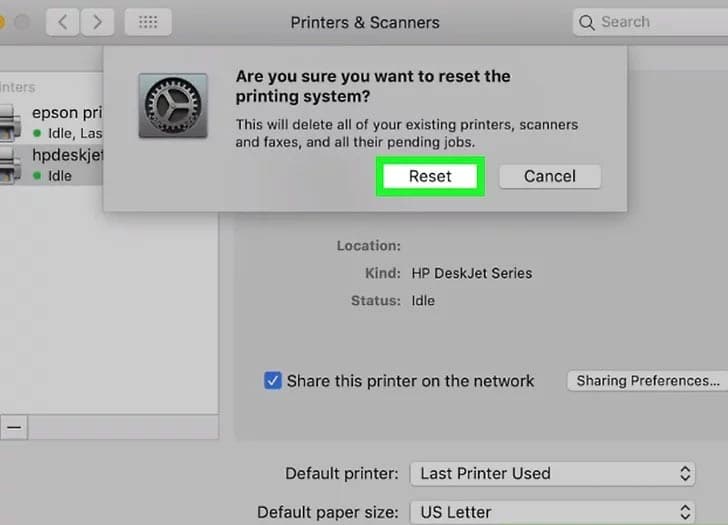
- In the menu, choose Reset printing system.
- This opens a new window asking you to confirm that you want to reset the printing system.
Step 10 :
- Select Remove device from the printer’s name.
- This step will remove the printer’s drivers so you may re-add them if clearing the queue didn’t work.
Step 11 :
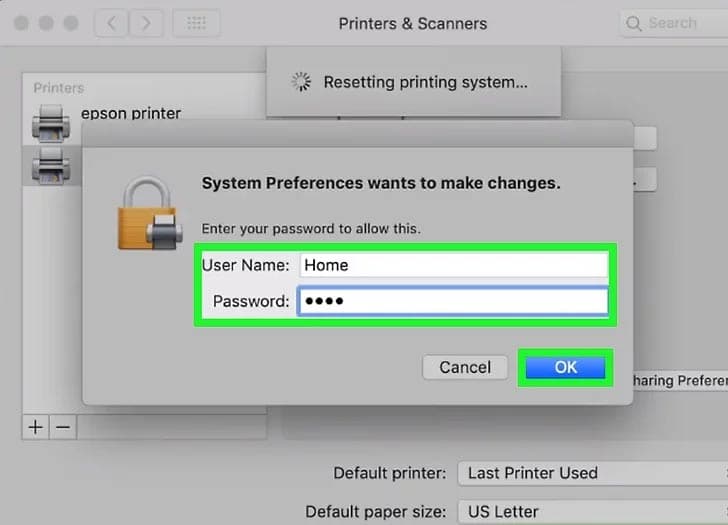
- Click OK after entering the Administrator’s name and password.
- Once you’ve done that, the system will finish resetting your Mac’s printing system.
Step 12 :
- Return to the Printers & Scanners section.
- You’ll need to re-add the printer to your Mac after you’ve reset your printing system.
Step 13 :
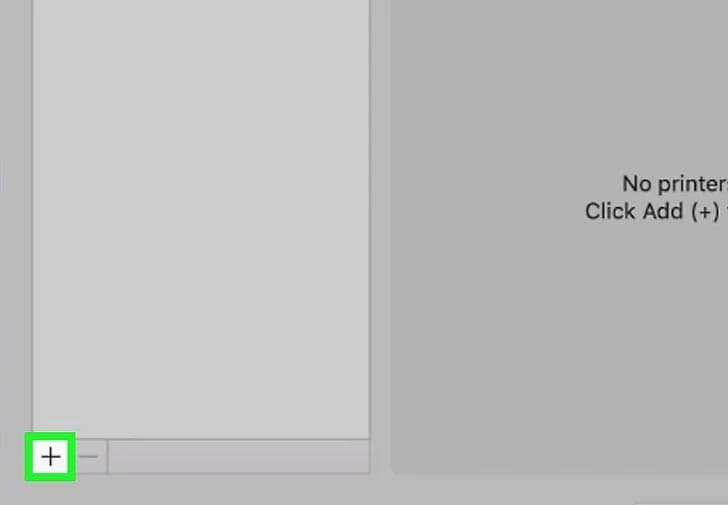
- Select Add a Device from the drop-down menu. This brings up a window that searches for your printer and automatically detects it.
- Before continuing with this step, make sure your printer is turned on and ready to connect.
Step 14 :
- Click Add after selecting your printer. This will re-establish a connection between your printer and your Mac’s wireless network.
- If there are no mechanical concerns, your printer should show online at this time.Make sure to reconnect any other devices this way to re-add them if you haven’t previously.

Step 15 :
- Seek help from your printer’s manufacturer.
- If you’re still having problems with your printer, it’s most likely a hardware problem.
- For more information, contact the printer’s manufacturer.

Disclaimer
This website provides technical support and setup assistance for printer devices. We are an independent service provider and are not affiliated with, endorsed by, or connected to HP Inc. or any printer manufacturer. All brand names, trademarks, and logos mentioned on this website are the property of their respective owners.
The information, drivers, and setup tools provided on this website are offered for informational and technical support purposes only. While we strive to ensure accuracy and reliability, we make no warranties or representations regarding the completeness, accuracy, or suitability of any content or software provided.
Users are advised to verify compatibility with their specific printer models before downloading any drivers or software. We are not responsible for any issues that may arise from the use of information or tools provided on this website. For official manufacturer support, please visit the manufacturer's official website.
By using this website and its services, you acknowledge that you have read, understood, and agreed to this disclaimer. If you do not agree with these terms, please do not use this website or download any materials from it.